Ceiling Leak Water Damage in Livingston, NJ
A ceiling stain can be the last visible point of a leak that started elsewhere. The restoration assessor checks overhead hazards and traces wet framing, insulation and finishes before planning controlled access.
(888) 471-9821Assess the overhead wet area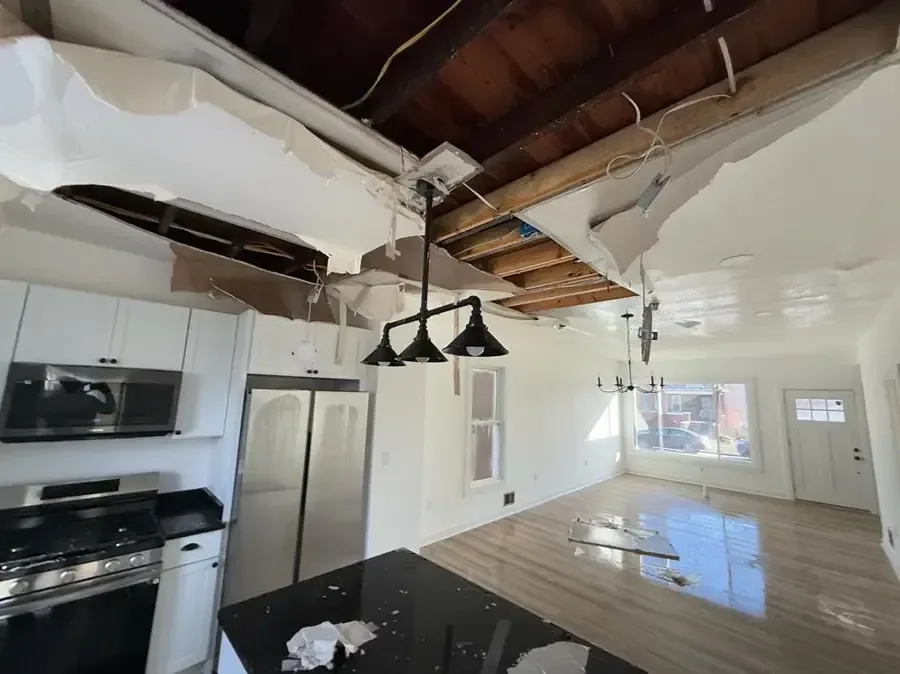
First steps for ceiling leak water damage
- 01Clear the space below
Keep people and movable dry belongings away from a sagging or swollen ceiling, without standing directly beneath the affected area.
- 02Avoid wet fittings
Do not touch lights, fans or switches associated with the leak; report those locations during the safety assessment.
- 03Describe what is above
Identify bathrooms, appliances or roof spaces over the room so the source investigation can follow the likely routes.
- 04Record changes safely
Photograph the stain from a safe position and note whether it expands during appliance use, fixture use or rainfall.
How the team handles ceiling leak water damage
Ceiling restoration begins with safe access and source tracing. The team examines the room or cavity above, then decides which damaged materials need removal for effective drying.
Trace the overhead route
The assessor compares ceiling readings with the accessible space above, checking framing paths that can move water away from its source.
Open unstable finishes carefully
The contractor controls the area below, coordinates electrical safety and documents damaged drywall or insulation before removing it.
Dry both connected assemblies
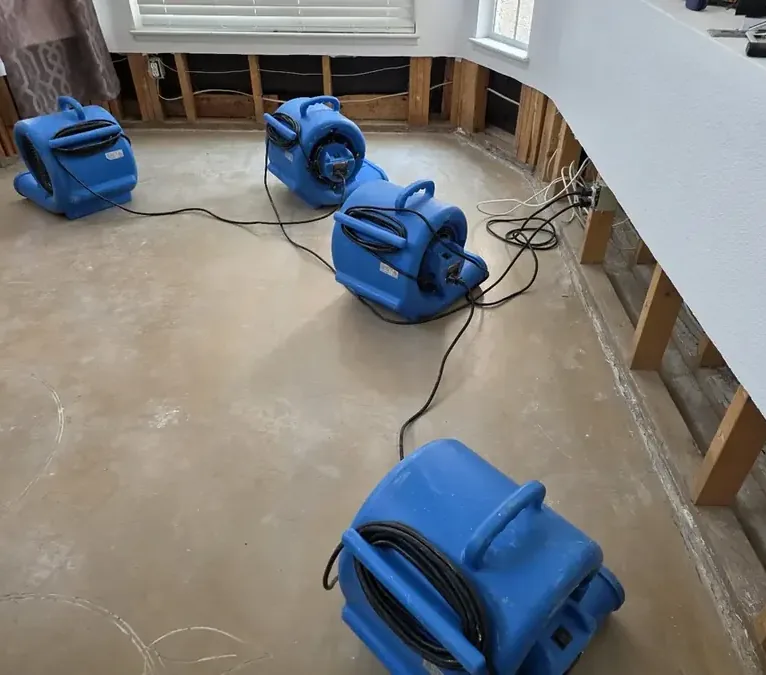
The drying team checks exposed framing and the floor above, balancing airflow with dehumidification where material layers release moisture at different rates.
Verify before overhead repairs
Final records describe remaining moisture and repair needs so new insulation and drywall do not conceal an incompletely dried cavity.
What does ceiling leak water damage cost in Livingston, NJ?
Ceiling leak mitigation commonly costs $800 to $4,500, with larger cavities or damage above and below reaching higher amounts. Source repairs and replacement ceiling finishes may be separate work.
The assessment separates immediate mitigation from later repairs. Review the material decisions and equipment allowance in the written scope.
(888) 471-9821Explain the overhead leak pathSmall accessible ceiling area
- Safety and moisture assessment
- Limited access opening
- Focused drying checks
Insulated cavity damage
- Damaged material removal
- Framing exposure
- Coordinated floor checks
Several rooms or levels
- Expanded overhead mapping
- Multiple drying zones
- Repair documentation
Scope factors: Water category, wet square footage, material class and the delay before drying change the equipment and removal required.
Use the water damage cost calculator for a planning estimate; a site assessment determines the work.
Ceiling Leak Water Damage work stages
- 01
Trace the overhead route
The assessor compares ceiling readings with the accessible space above, checking framing paths that can move water away from its source.
- 02
Open unstable finishes carefully
The contractor controls the area below, coordinates electrical safety and documents damaged drywall or insulation before removing it.
- 03
Dry both connected assemblies
The drying team checks exposed framing and the floor above, balancing airflow with dehumidification where material layers release moisture at different rates.
- 04
Verify before overhead repairs
Final records describe remaining moisture and repair needs so new insulation and drywall do not conceal an incompletely dried cavity.
A wet ceiling over a room along Livingston Avenue may receive water from plumbing, an appliance or the building envelope. At Livingston Town Center, access to a space above can require coordination with another occupant. Near Northfield Center, the same assessment still starts with the actual overhead assembly.
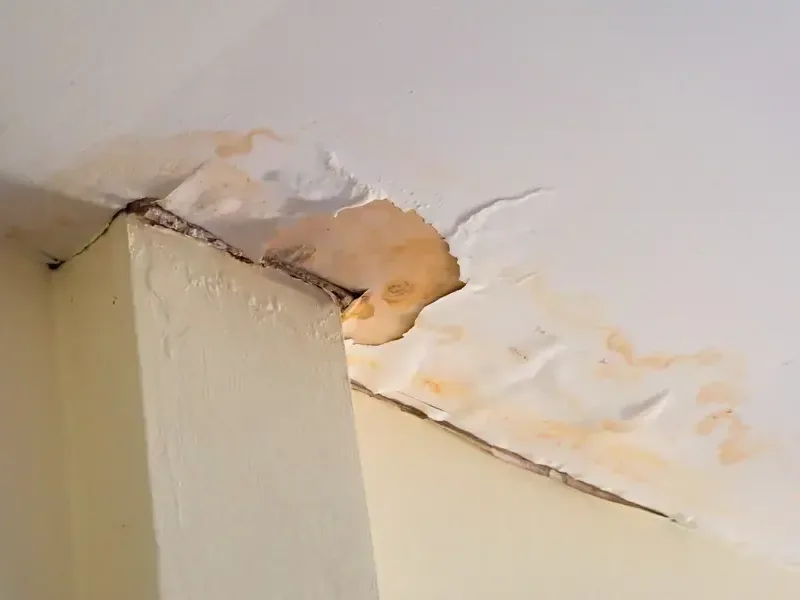
The stain does not always mark the source
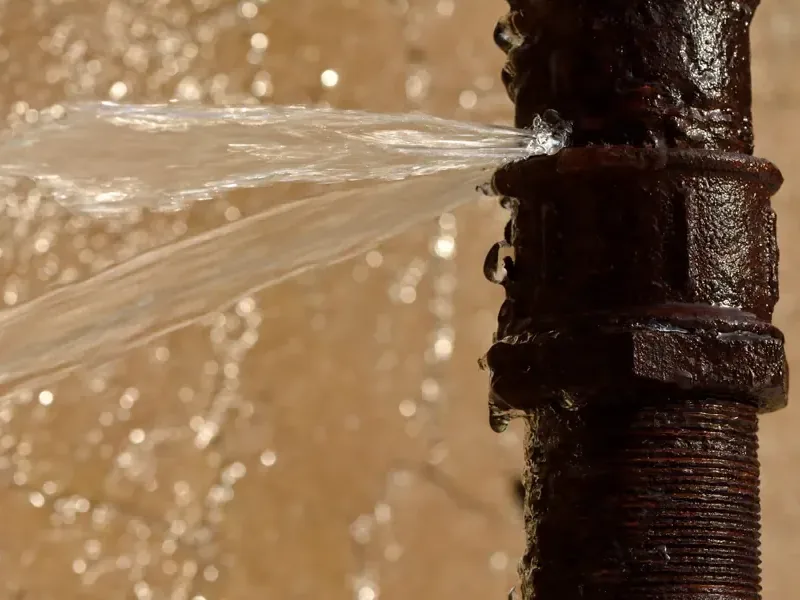
Water can follow a joist, pipe or cable before finding a joint in the ceiling finish. The visible mark may sit away from the original release. The technician compares readings across the ceiling and checks the accessible floor or cavity above rather than opening only the darkest patch.
A sagging sheet or bulge can hold water and lose support. The mitigation contractor establishes a clear area below and evaluates electrical fittings before controlled removal. A homeowner should not puncture the bulge from a ladder or move a light fitting to investigate the cavity.
- Keep occupants out from beneath loose, swollen or sagging finishes.
- Record the rooms and fixtures above the first stain.
- Report water at recessed lights, fans and smoke detectors without touching them.
- Check adjacent walls where water may descend behind the finish.
Access the materials that cannot dry from below
Insulation and layered finishes can trap moisture above an apparently drying surface. The contractor evaluates what can remain sound and what needs removal to expose the wet framing. Paint or stain-blocking treatment does not remove moisture in the ceiling cavity.
The drying plan should account for both sides of the assembly where possible. An upstairs floor may retain moisture while the opened ceiling dries quickly. The assessor records those separate conditions so the visible improvement below does not prematurely end drying above.
Finish repairs follow source and moisture verification
The source professional resolves the leak while the drying crew tracks the affected materials. The owner should retain a record of the cause, openings and repeated readings before new drywall hides the cavity. A repair estimate should identify insulation, ceiling finish and decoration separately from the mitigation equipment.
Water around a ceiling light or fan creates an electrical concern even when the room floor is dry. Stay clear of the fitting and the area below unstable drywall. A qualified professional must address uncertain power before the restoration team opens the ceiling. Catching drips does not make a bulging overhead assembly safe for occupancy.
An overhead stain may hide water on both sides of the ceiling. Describe the rooms above and any wet electrical fittings before access begins.
(888) 471-9821Explain the overhead leak pathCeiling leak water damage in Livingston
Water damage assistance covers ZIP 07039, Northfield Center, Livingston Center and Livingston Circle. The assessment follows the wet materials in each building.
Other water problems to check
Ceiling Leak Water Damage questions
Can the stain identify the leaking pipe?
Not by itself. Water can travel along framing and services before appearing. The source professional and moisture assessor compare the stain with conditions above it.
Should a ceiling bulge be punctured?
A homeowner should keep clear rather than work beneath unstable material. The contractor evaluates collapse and electrical risks before controlled access or removal.
Will repainting solve a dried-looking mark?
Paint addresses appearance, not hidden moisture. The assembly needs source correction and material checks before a finish repair can be considered complete.
Why inspect the upstairs floor too?
A leak may wet both sides of the assembly. The exposed ceiling can dry faster than the floor layers above, so both need appropriate verification.
Is all ceiling insulation removed?
The decision depends on condition, contamination and access. The contractor should explain which sections block drying or cannot remain sound.
What supports a ceiling insurance claim?
Source findings, photos before opening, removal notes and repeated moisture readings describe the loss. The insurer then applies the terms of the policy.
Check the cavity before the ceiling closes
The restoration team documents wet framing and adjoining floor layers so cosmetic repairs follow the measured dry-out.