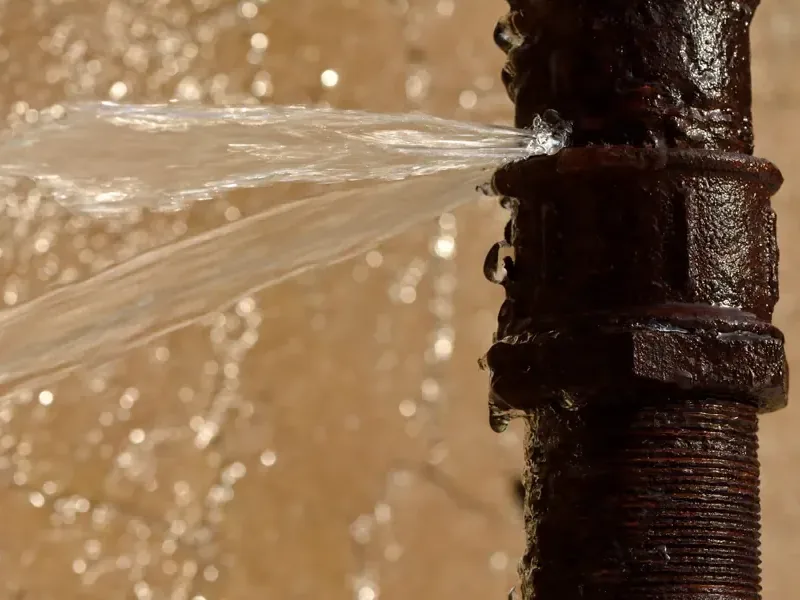
A water main break closed Columbia Turnpike between Airport Road and Cali Drive on October 19, 2022. When water appears inside a Florham Park home, the owner needs to describe that problem too: where the leak is, which rooms are wet and what the plumber and drying crew need to inspect.
Key takeaways
- Save a public disruption notice separately from the interior discovery notes.
- Describe visible plumbing leakage by room and fixture location.
- Arrange safe source isolation before water continues across finishes.
- Track extraction and material drying after the leaking part is addressed.
- Keep the plumbing repair description with the photographs of affected rooms.
Keep the street event and the household timeline distinct
The documented Columbia Turnpike break sent water across the roadway and closed traffic in both directions between Airport Road and Cali Drive. A household record can preserve the date and the notice relevant to access.
The interior record should then begin with what the occupant actually saw within the building.
The owner can start with a simple description: water below a sink, drips from a ceiling or a puddle beside a pipe. The discovery time and whether water is still escaping help the plumber narrow the inspection.
Photographs from a dry position can show the affected fixture and nearby flooring without entering an unsafe area.
The burst pipe water damage page explains source control and cleanup of soaked materials. A report of the leak inside the home gives the contractor a starting point for that work.
Any public notice about road closures or water service belongs alongside the access details for arranging the visit.
- Store the public notice with its publication or event date.
- Start a separate entry for the first interior observation.
- Identify the fixture, wall or ceiling beside the visible water.
- Note which entrance remains available for the assessment.
Arrange source control from a safe position
When a pipe is visibly leaking, the owner can describe where the water is escaping and arrange plumbing help. A known shutoff is useful only if the valve is reachable safely.
Standing water, wet electrical equipment or a sagging ceiling can block a familiar route, so occupants need to stay clear of those hazards.
The plumber records which valve was closed or which pipe was repaired, along with any work still needed. The owner can ask which fixtures are ready to use again.
Those details also help the drying crew confirm that the source is controlled before it concentrates on the surrounding walls, cabinets and floor layers.
If the source is concealed, the investigation should define the access needed to locate it. A visible wet patch can be photographed before any opening, with a wider view showing its room position.
The resulting record connects the original symptom to the inspection and any repair that follows without losing the sequence.
Map the spread beyond the leaking fixture
The technician starts around the appliance recess, cabinet base or pipe enclosure where the water appeared. From there, the inspection follows floor seams and wall edges into adjoining rooms and the level below where accessible.
Adding each wet location to the room map gives the crew a clearer view of the drying work ahead.
Florham Park is a borough in southeastern Morris County, and Columbia Ridge is a named locality within it. For a home described using that locality, the work record still needs specific interior names such as the pantry floor or the hallway ceiling.
Consistent room labels make photographs and readings much easier to compare.
Water extraction removes accessible liquid from the affected area as part of recovery. Once the visible water is reduced, the assessment can describe the exposed floor edges and lower finishes more clearly.
The record should preserve any newly revealed damage before contents are rearranged or repair access changes the room.
- Look at accessible spaces adjoining the original wet area.
- Mark floor transitions and fixed cabinet positions.
- Connect each photograph to a named room location.
- Add newly exposed material edges to the inspection notes.
Protect the repair opening and record what it reveals
An opening made to reach a failed pipe may expose more than the plumbing component. Wall backing, insulation, flooring layers or framing can become visible at the same time.
Photographs should show those conditions while the area is open, with the source repair documented separately from decisions about the surrounding building materials.
The owner should receive a clear description of the access area and any temporary room restrictions. A cabinet may remain partly dismantled, a floor section may be unavailable or a ceiling opening may require the space below to stay clear.
Those practical details help occupants follow the work plan during the interval before finish repairs.
The exposed area also gives the mitigation team an opportunity to define measurement points. A useful note describes the material and its location beside the opening, allowing later readings to return to the same place.
Keeping those points identifiable supports an orderly handoff between plumbing work and material drying.
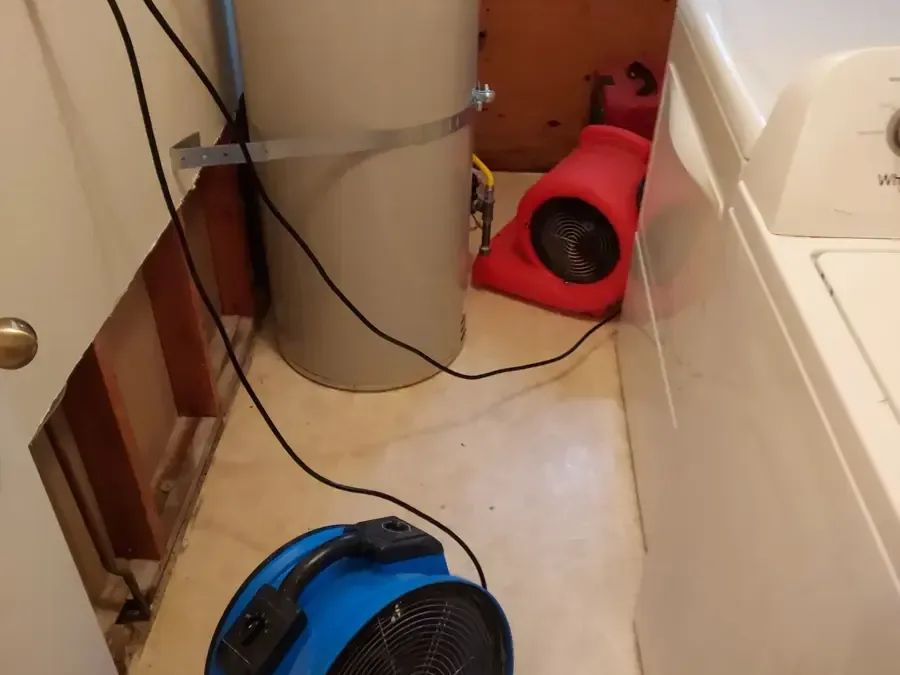
Follow the room after the plumbing repair is complete
After a plumber fixes the pipe, the restoration technician checks the floor, cabinets and walls that absorbed water. The owner receives an explanation of which materials can dry in place and which need opening or removal.
Photographs and moisture readings connect that proposed work with the damage found around the repaired leak.
Structural drying targets the damp materials that will remain in the home. The technician marks measurement points on the room sketch, records repeat readings and checks inaccessible edges.
If the surface improves while the layer beneath stays wet, the team can change airflow or open access to help that area dry.
When a measurement changes slowly, the next entry should explain the response. The technician may need to revisit access, inspect another layer or adjust the setup serving that location.
The important part of the homeowner’s record is the connection between the observation, the decision and the followup finding.
- Keep the plumbing completion entry separate from drying completion.
- Return to labeled material measurement points.
- Record the reason for equipment or access adjustments.
- Identify unfinished finish work before the room handoff.
Build a file that the next contractor can use
The final package should include the initial discovery, source repair, access photographs and material findings. A repair contractor can use those records to understand why a finish was opened and what lies behind it.
Clear room descriptions reduce the need to reconstruct the entire incident from a collection of unrelated images.
Brooklake Elementary School and Ridgedale Middle School are local landmarks that can help with appointment orientation. Within the project file, the more useful references are fixed building features, including a doorway, utility enclosure or cabinet corner.
The location language should become more precise as the discussion moves from scheduling to repairs.
After the affected space returns to ordinary use, any new water observation should receive its own entry. The earlier record remains available for comparison, with the completed repair and drying work clearly identified.
This approach gives the homeowner a practical history without blending a later concern into the original event.
Questions
What happened during the documented Florham Park main break?
The October 19, 2022 event involved Columbia Turnpike and closed the roadway between Airport Road and Cali Drive. A property owner can keep that event information alongside access notices while recording any interior concern in its own room-specific account.
What details help when reporting an indoor pipe leak?
A useful description identifies the room, the visible point of escape, the time it was noticed and whether the flow is still visible. The occupant should also report access hazards from a safe location so the response can be planned accordingly.
Why keep photographs of the repair opening?
The images preserve the arrangement and condition of layers that will later be covered. They help connect the plumbing repair to the mitigation findings and give the finish contractor a clearer view of the work area.
When is the room ready for finish repairs?
The contractor lists completed water removal and drying, any remaining source repair and the openings left for reconstruction. Photographs and final moisture readings help the repair trade plan replacement finishes and identify areas that still need inspection.